
In the realm of professional printing, a diverse array of techniques exists, ranging from the traditional offset and digital printing methods to more contemporary approaches like screen printing and the use of adhesive vinyls. However, the art of printing isn’t confined solely to these high-precision, predictable methods. Engaging in printing activities can also serve as a creative outlet, a leisurely pursuit, and a means to produce distinctive artworks that, while they may lack the exactitude of commercial prints, possess their own unique charm and appeal.
This article highlights two distinct home printing techniques that are both accessible and cost-effective: linocut and solvent transfer.
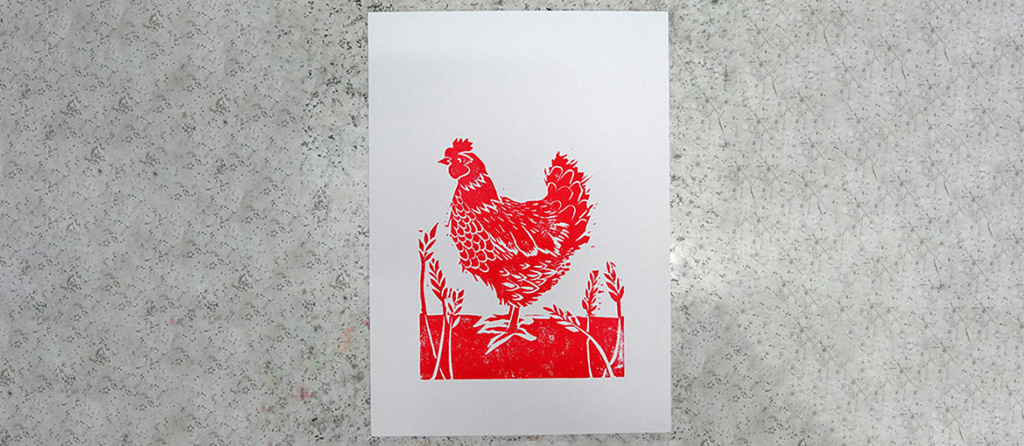
Linocut Printing
Linocut is a printmaking technique that involves the use of a linoleum block as the printing matrix, a softer and more pliable alternative to wood. This method appeals to a broad spectrum of enthusiasts, from beginners to more experienced artists, due to the ease of carving into the linoleum surface.
Famous works employing this technique include:
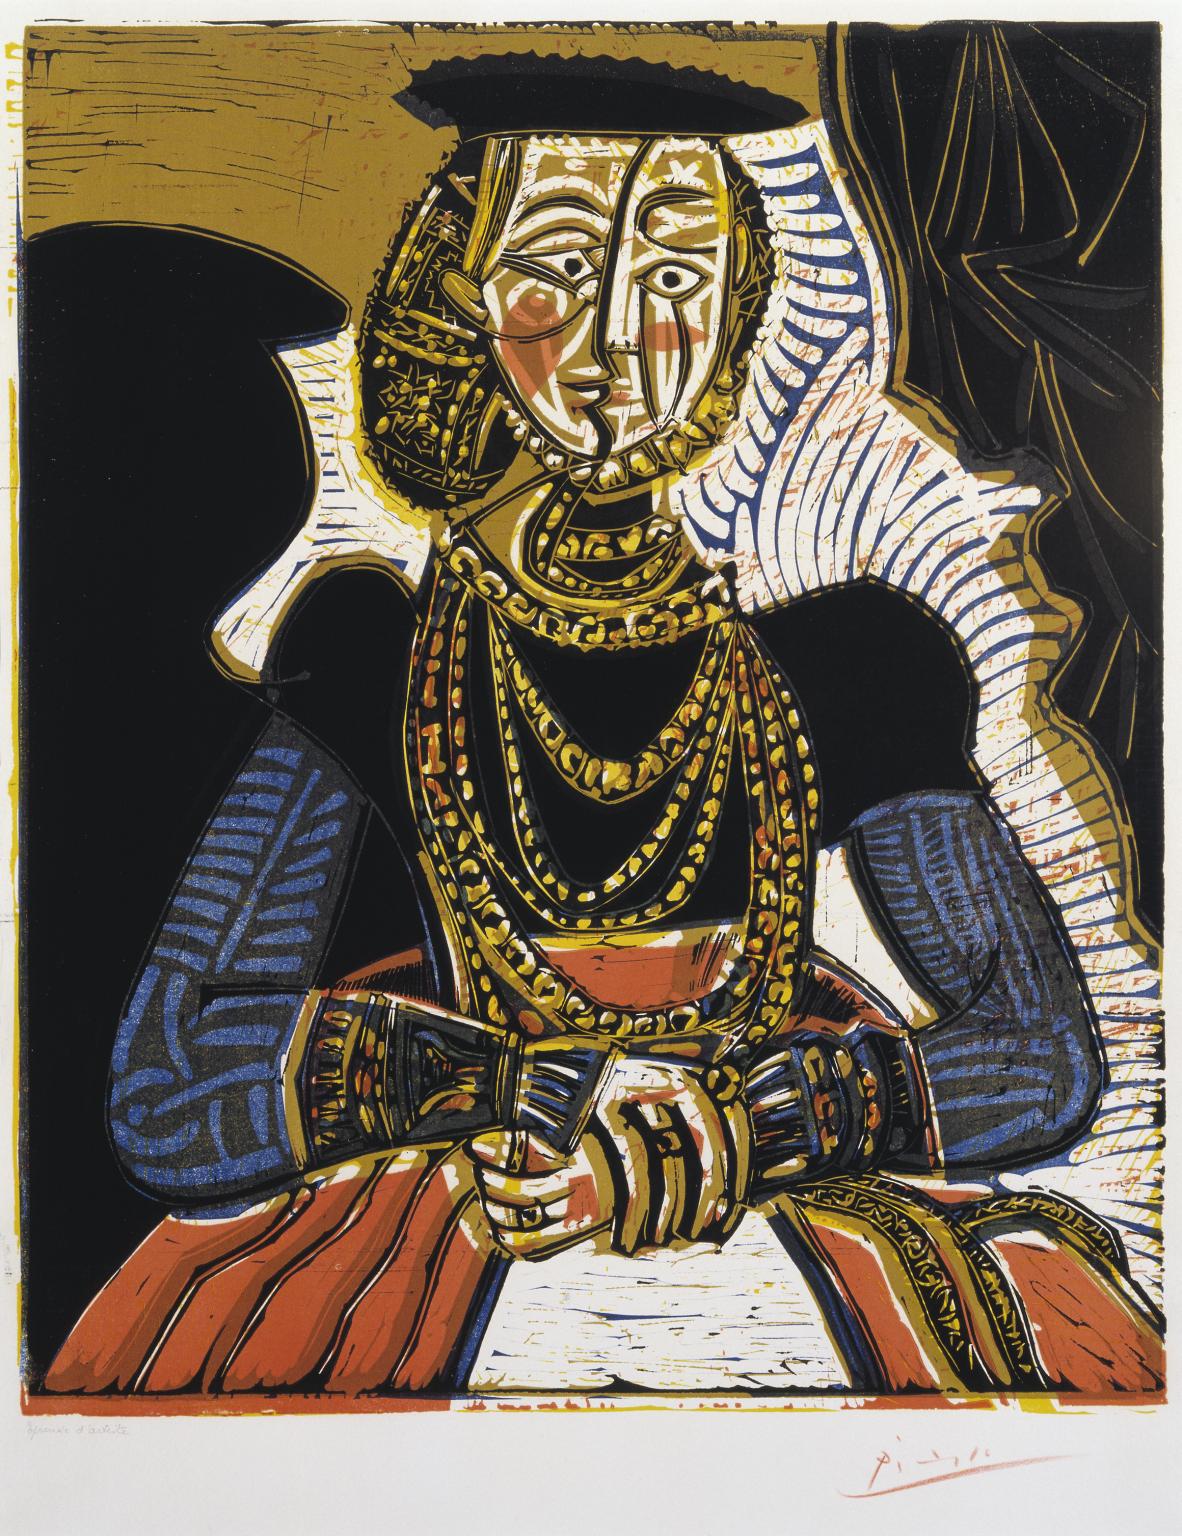
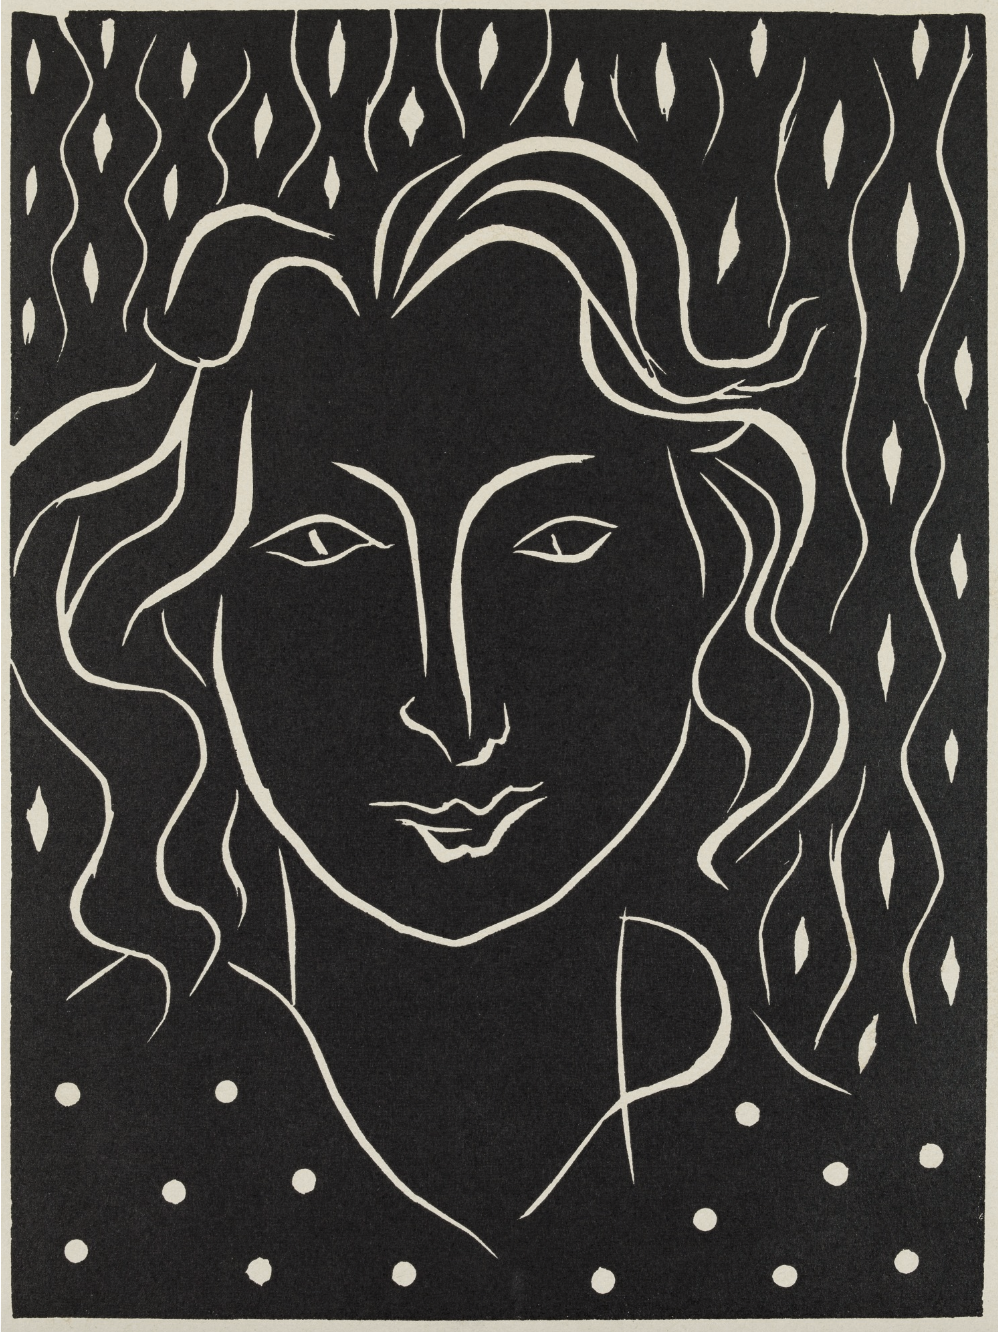
Essential Supplies for Linocut:
- A linoleum block
- Carving tools
- Pencil and carbon paper for transferring designs
- A brayer (ink roller)
- A barren (or a kitchen spoon) and parchment paper for pressing
- Printmaking ink
- A glass surface for ink spreading
- Printing paper

Linocut Process Overview:
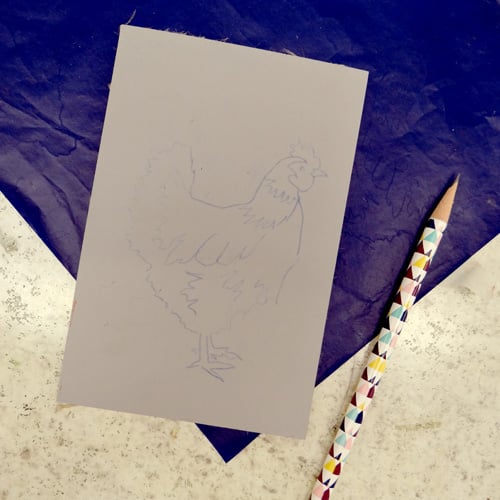
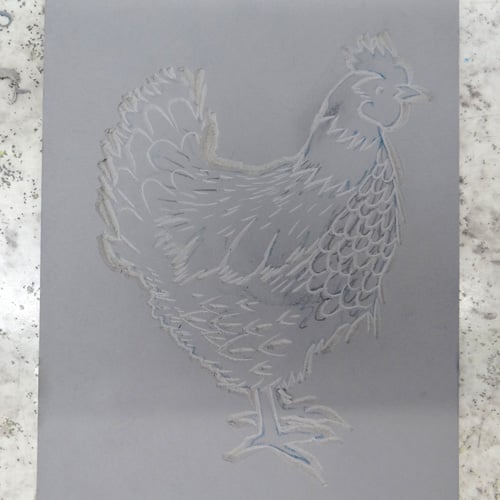
1.Design Transfer:
Begin by sketching your design directly onto the linoleum block or transferring an existing design using carbon paper.
Handprinted
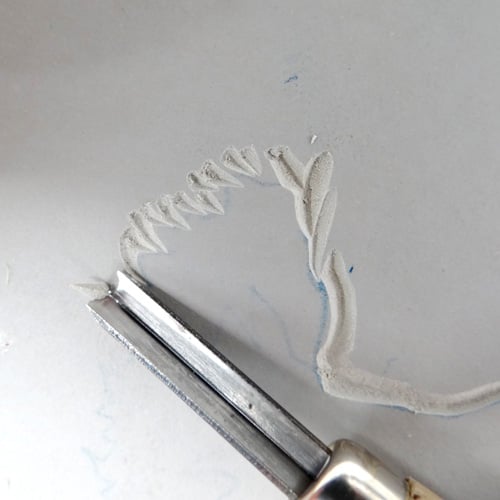
2.Carving:
Use a V-shaped gouge to outline your design, ensuring clarity in the printed image. Remember, areas carved away will not pick up ink.
Handprinted
Handprinted
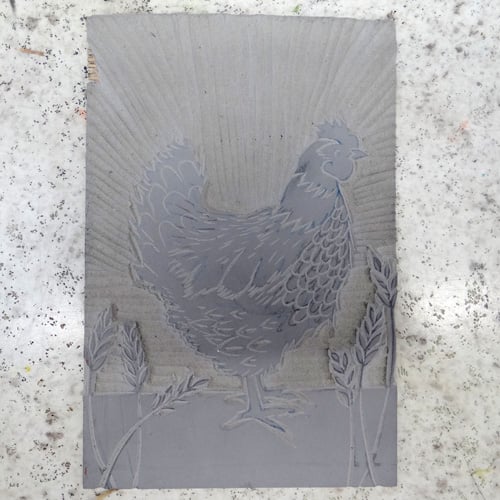
3.Preparing the Background:
If a white background is desired, remove the linoleum around the design with a wider U-shaped gouge.
Handprinted
4.Inking:
After setting up a registration sheet for alignment, evenly distribute ink on the glass surface with the brayer, then apply it to the raised surfaces of your linoleum block.

Image by Holly Newnham, from
Handprinted
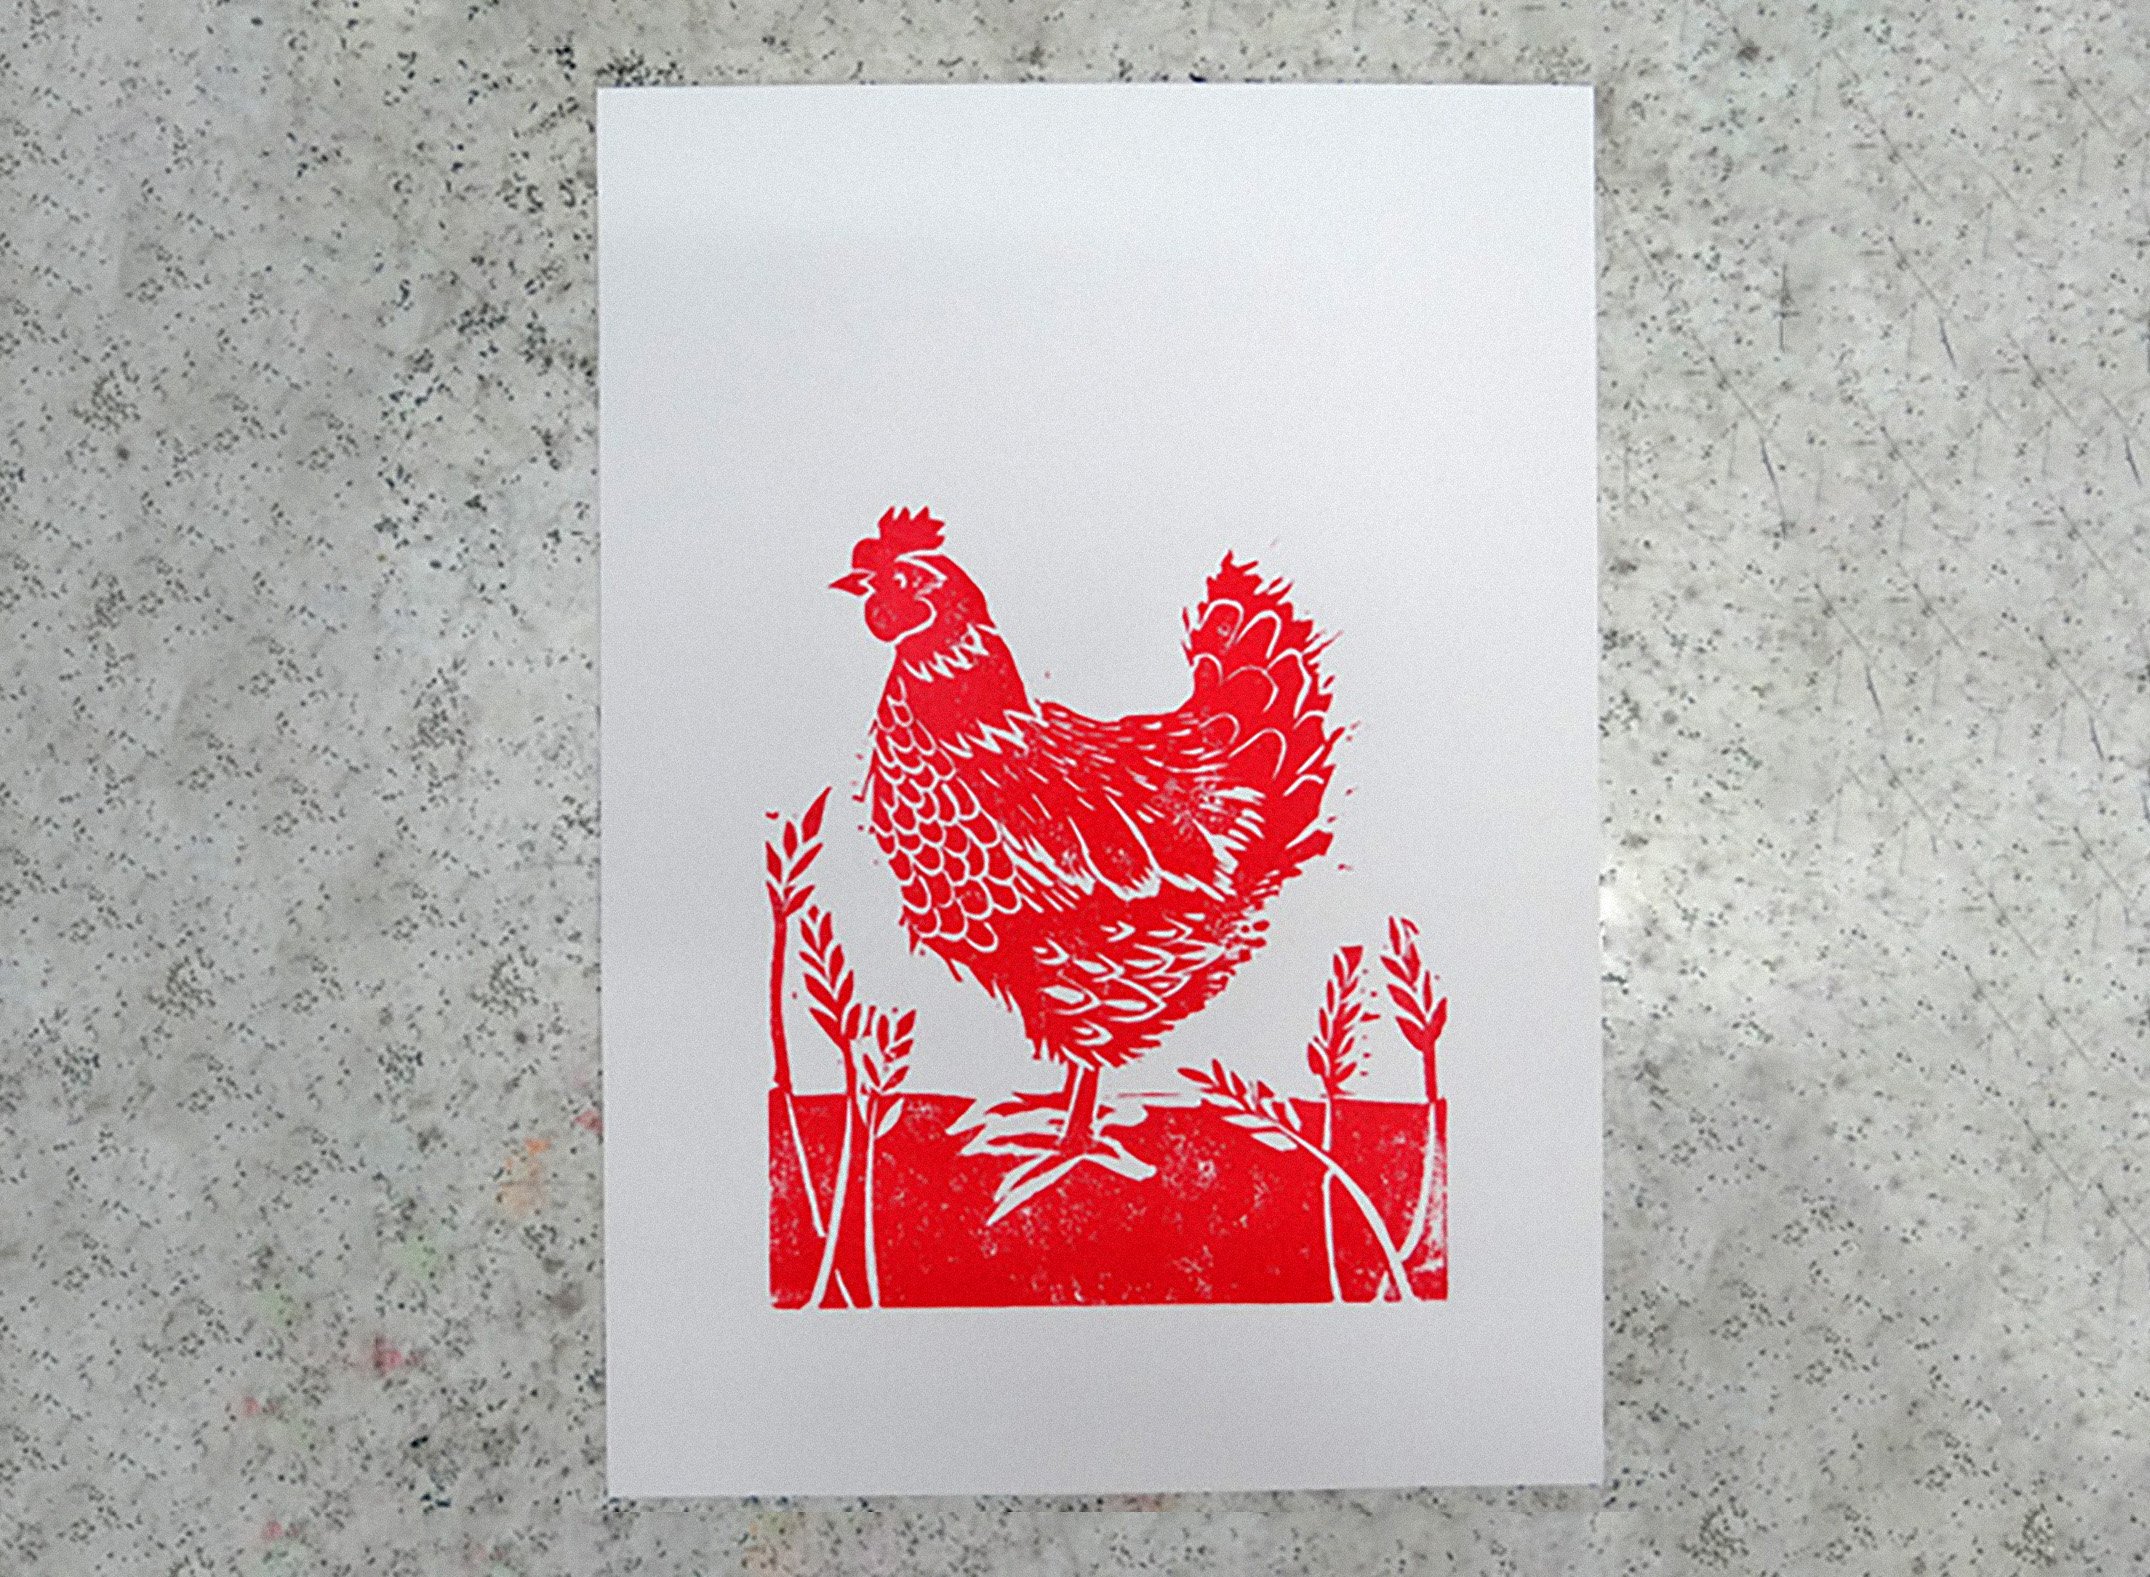
5.Printing:
Place your paper over the inked block, cover with parchment if desired, and apply pressure uniformly using a barren or spoon to transfer the ink.
Handprinted
- Cleanup: The linoleum block can be wiped clean with a damp cloth and reused for multiple prints. Avoid submerging in water to prevent warping.
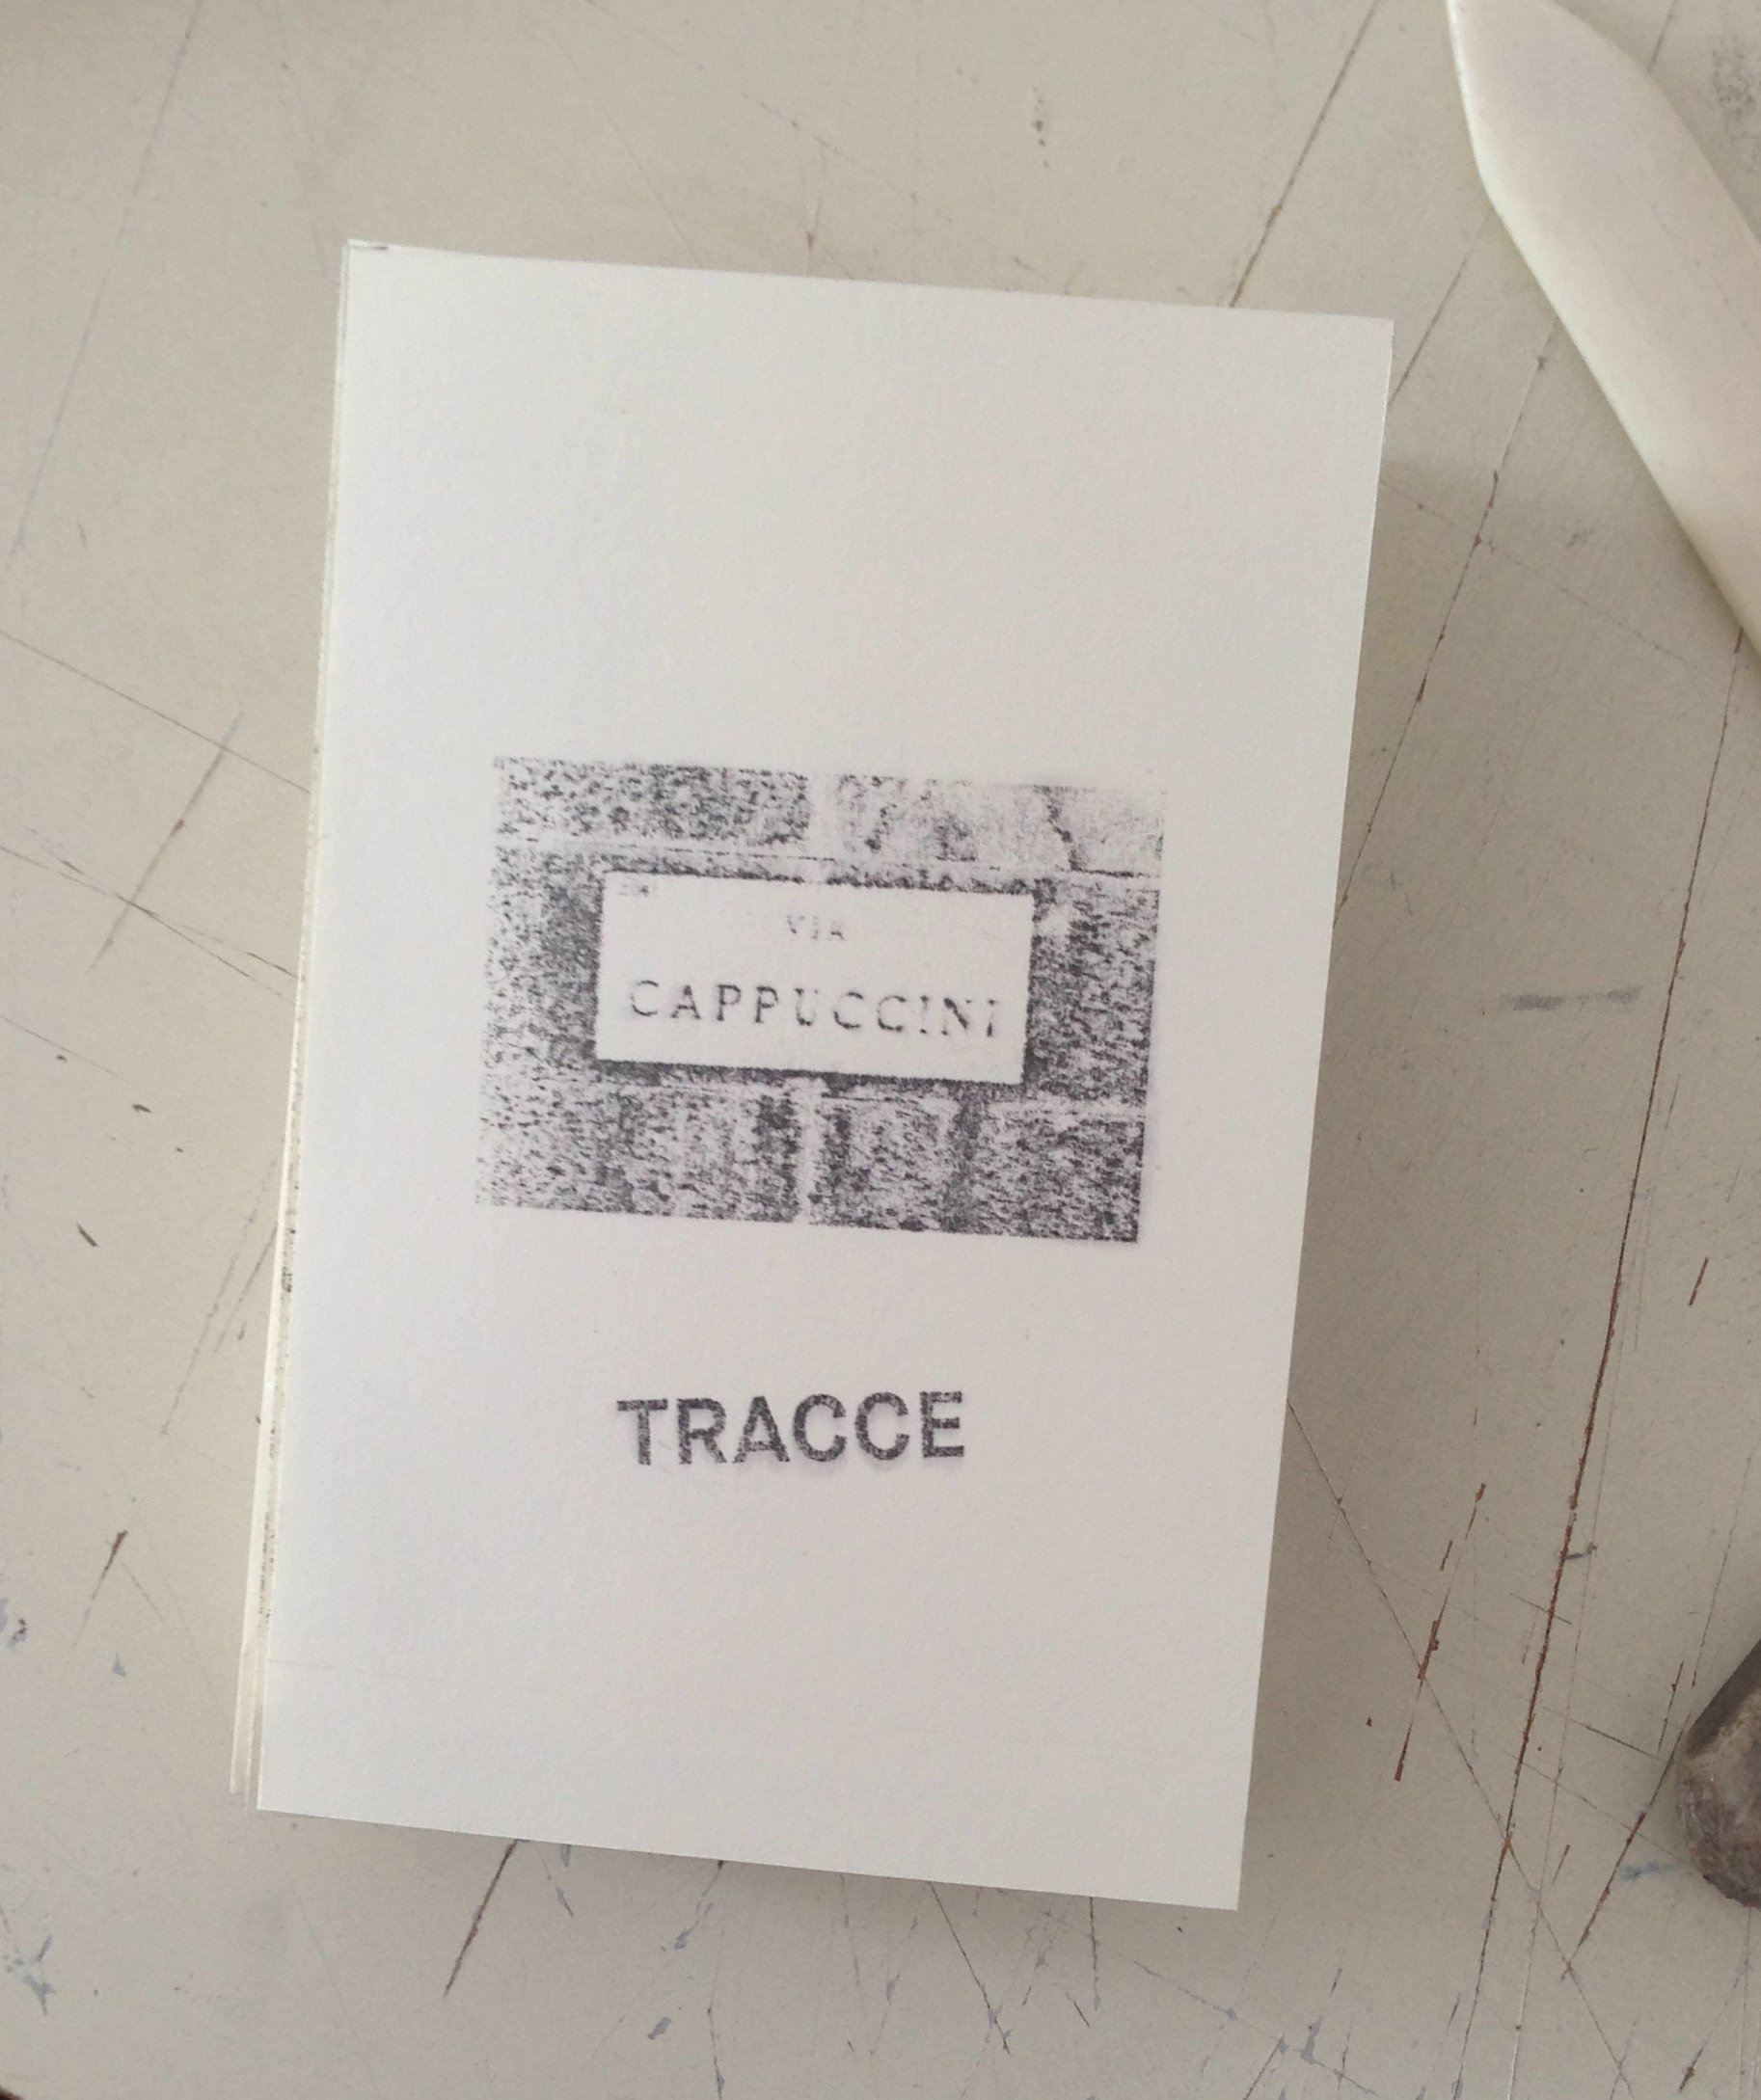
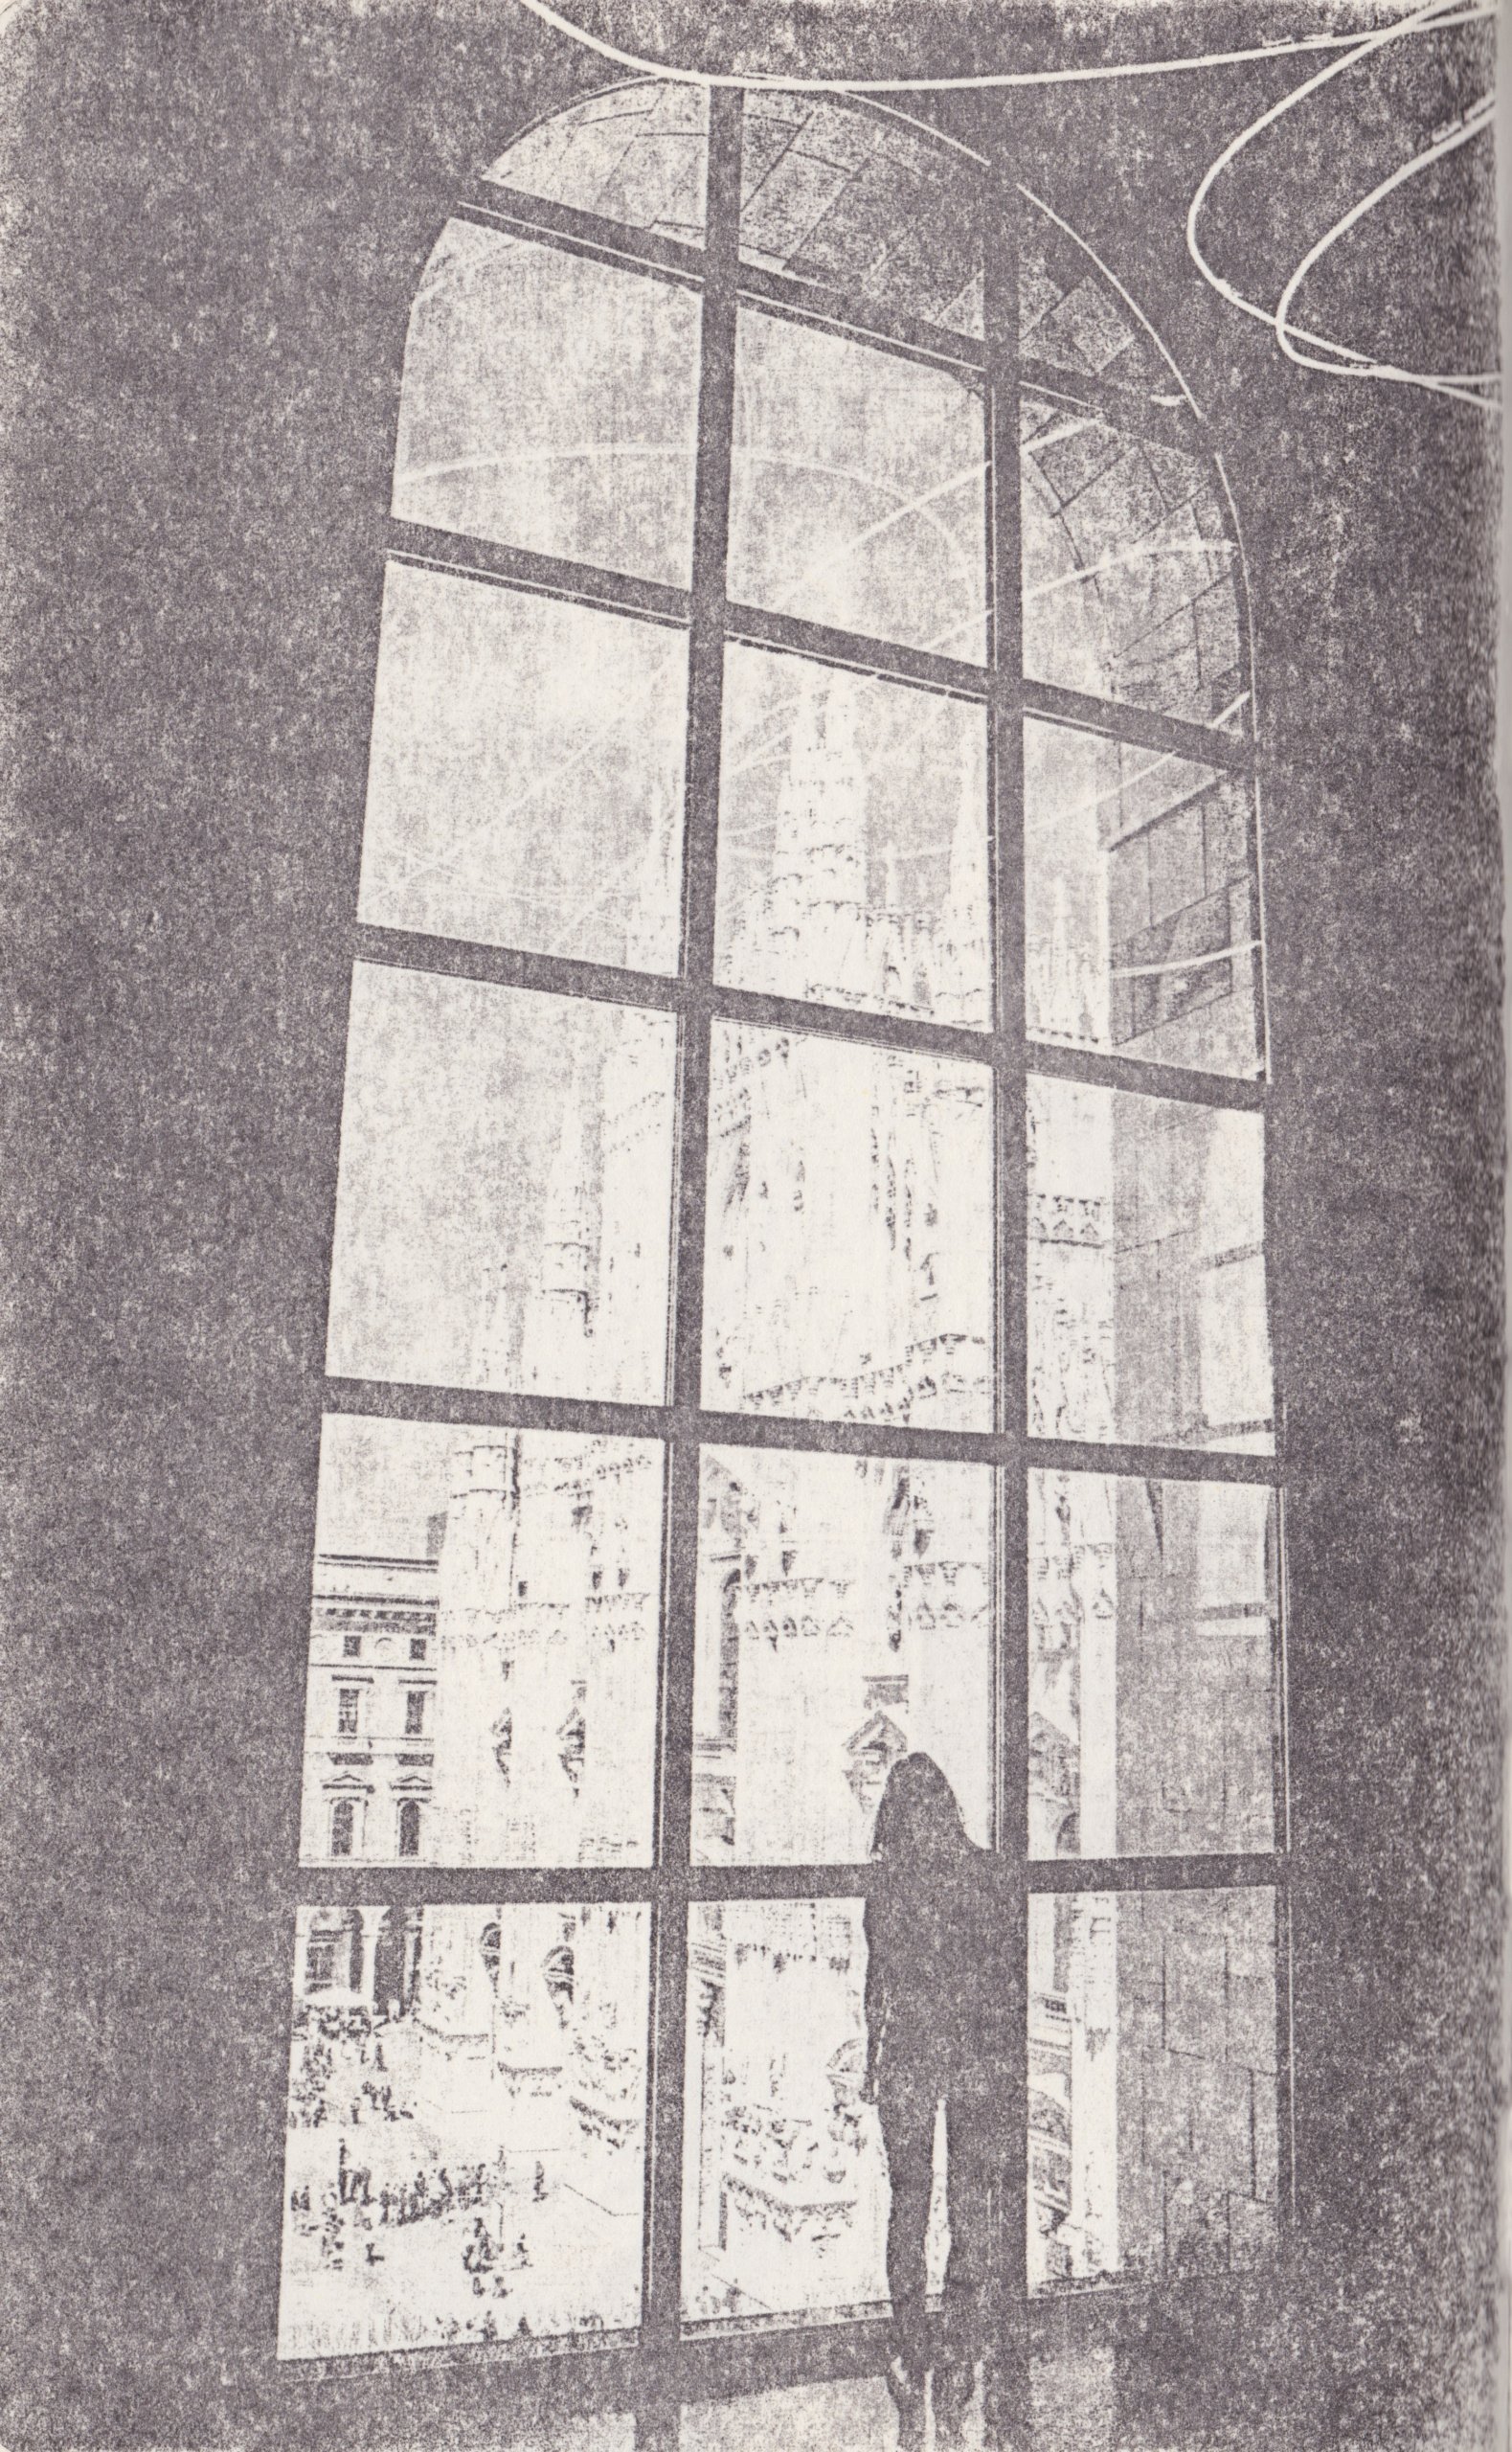
Solvent Transfer Printing
This lesser-known method enables the transfer of laser-printed images to various surfaces using a solvent like nitro thinner, acetone, or trichloroethylene. It’s a straightforward technique that can yield both precise and abstract results.
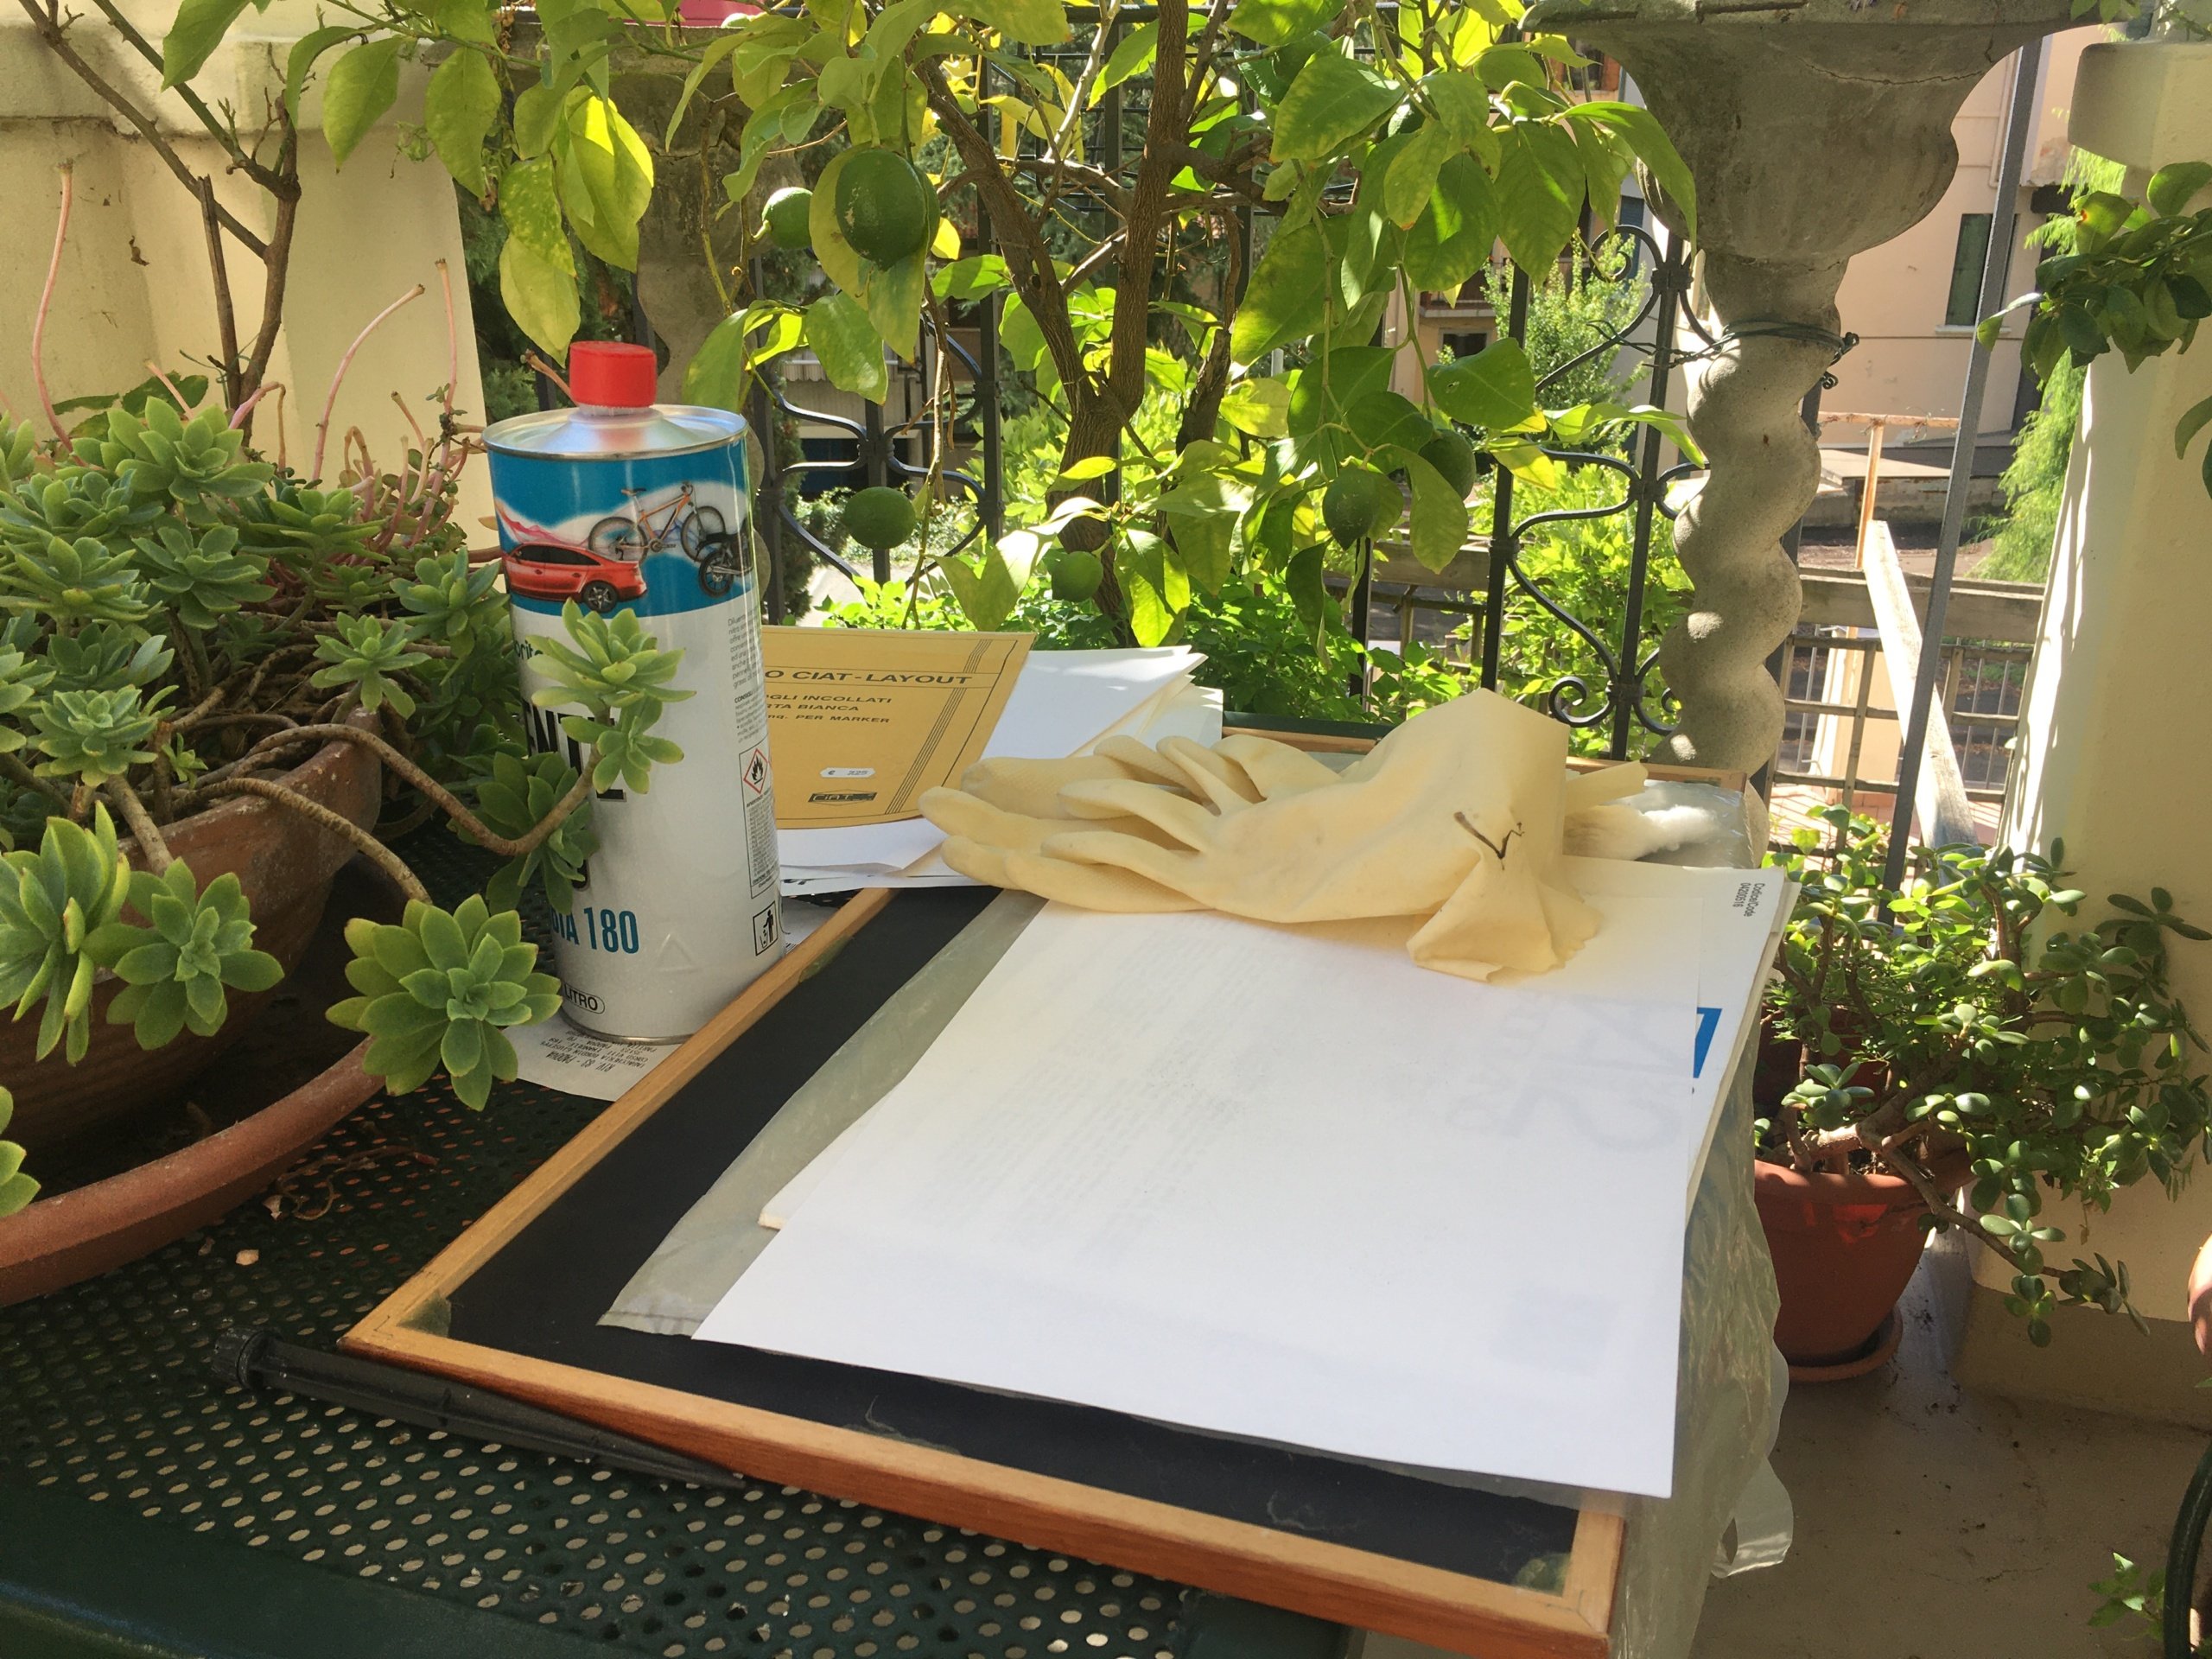
Materials Needed:
- A laser-printed image on plain paper
- A printing surface (e.g., paper, wood, stone)
- Solvent (e.g., nitro thinner)
- Protective gear (gloves and mask)
- Cotton balls or pads
Key Steps for Solvent Transfer:
- Image Preparation: Print your selected image in reverse using a laser printer to ensure correct orientation upon transfer.
- Transferring the Image: Secure your safety gear, then place the printed image face down on your chosen surface. Dampen a cotton ball with solvent and rub over the back of the paper to transfer the ink onto the surface beneath.
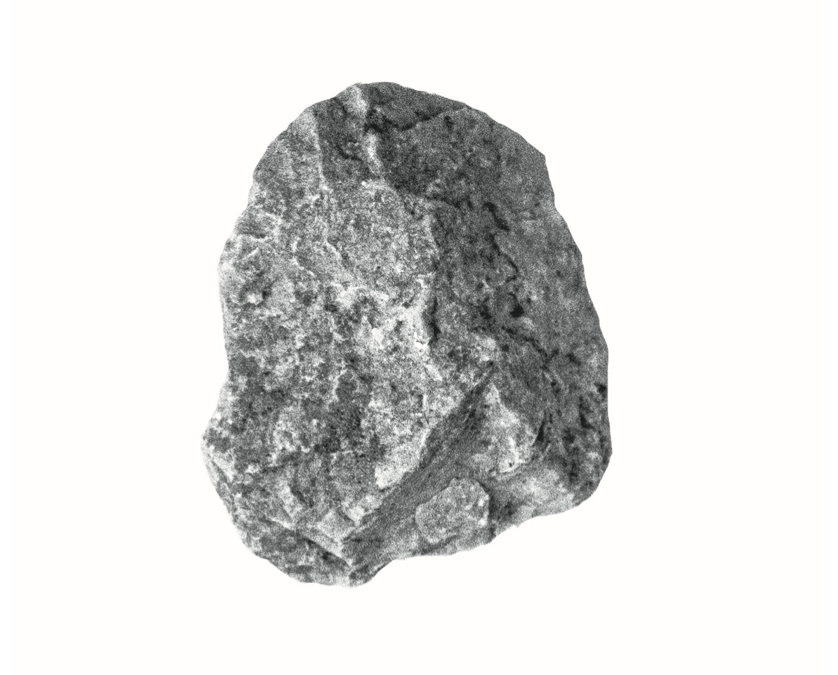

These methodologies offer a stark contrast in approach and execution: linocut demands a more hands-on, artistic involvement, whereas solvent transfer is more experimental, allowing for intriguing effects on non-traditional materials like wood or stone. Both techniques afford ample opportunity for personalization and creativity in project work.